HOLE-BY-HOLE GUIDE
Explore Every Hole at King David Mowbray Golf Club
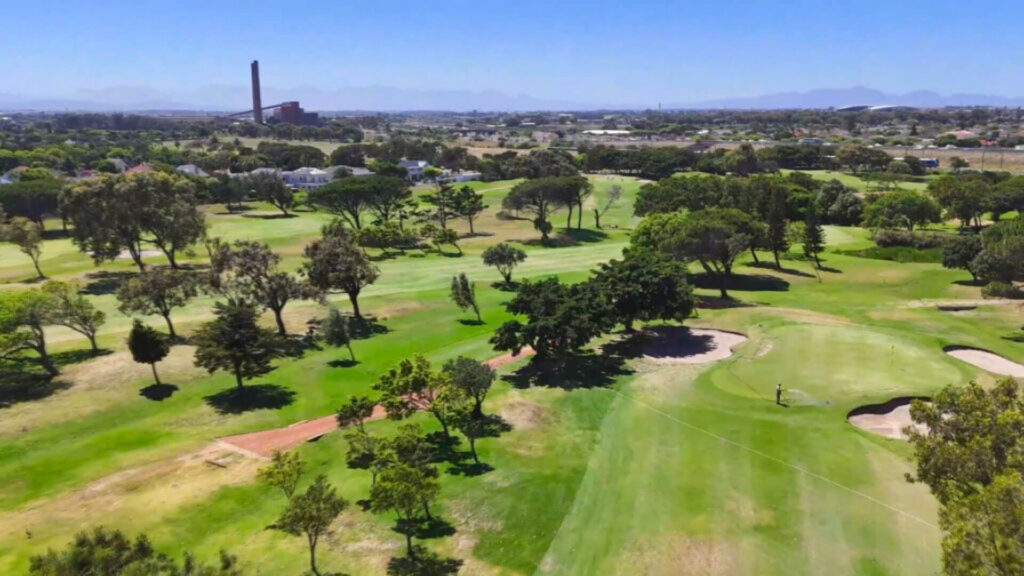
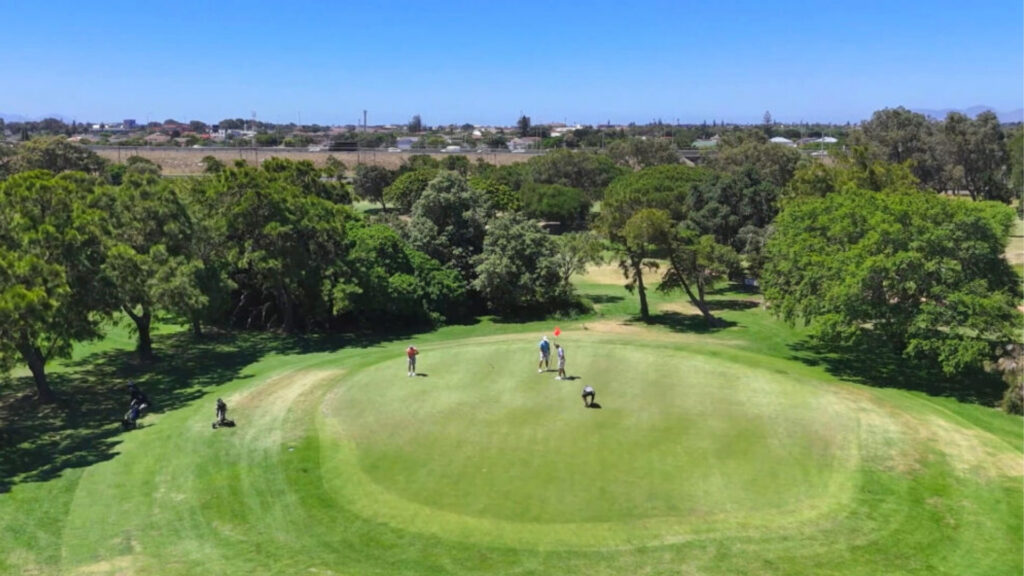
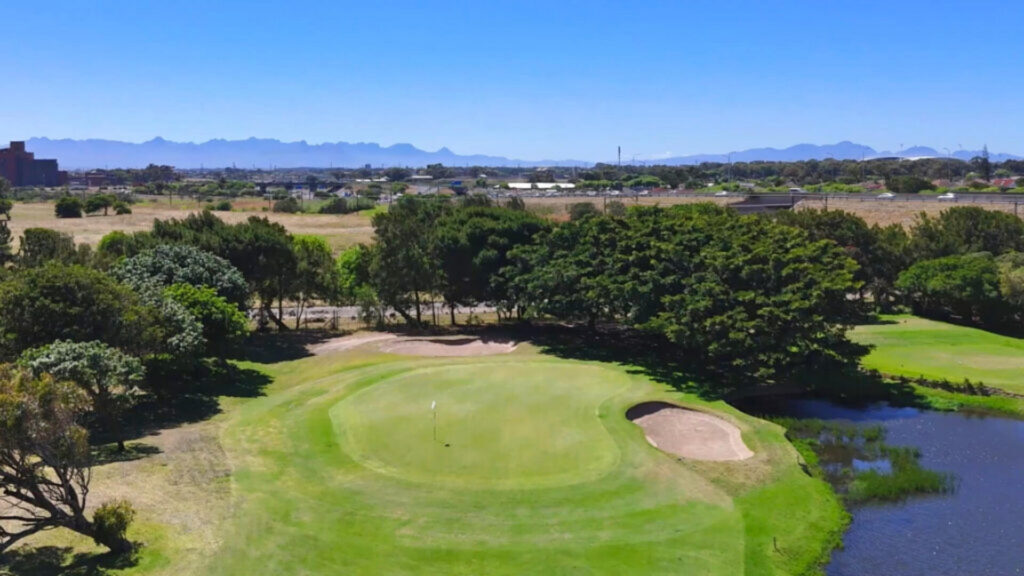
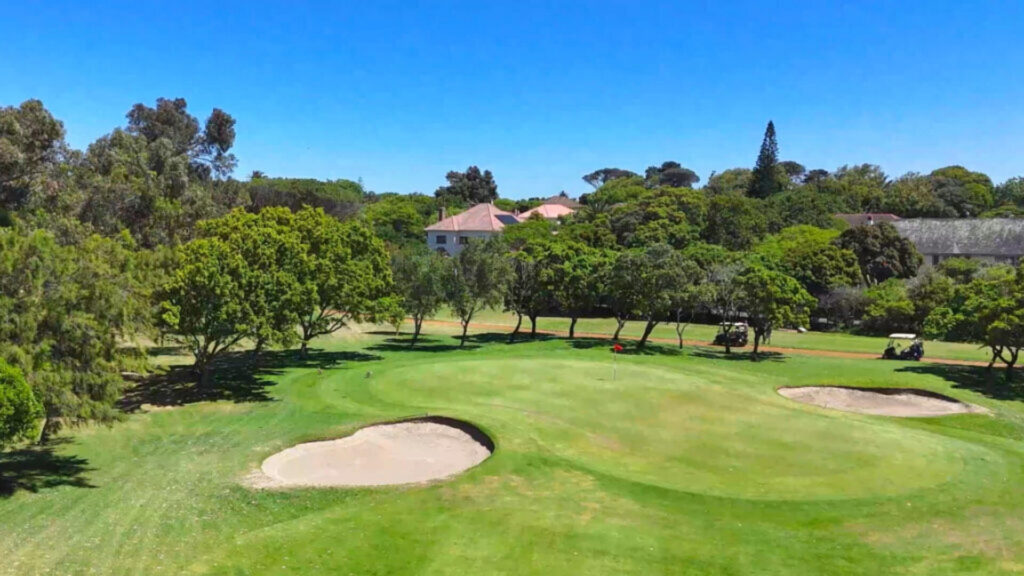
Our hole-by-hole guide provides an overview of each hole, including key features, pro tips and distance information from each tee. Use it to familiarise yourself with the course before your round.
EXPLORE OUR COURSE
Explore Every Hole at King David Mowbray Golf Club
Our hole-by-hole guide provides an overview of each hole, including key features, pro tips and distance information from each tee. Use it to familiarise yourself with the course before your round.
Hole 1
Hole 1
- Par 4
- 308m
- Water, Vegetation
A short par 4 with out of bounds along the right side. Shorter hitters should lay up left of the fairway bunkers, while longer hitters may attempt to drive the green. However, caution is advised: shots drifting right risk going out of bounds, resulting in a penalty and requiring a replay from the tee.
308m (Champ)
287m (Club)
265m (Senior)
275m (Ladies)
Hole 2
Hole 2
- Par 4
- 366m
- Bunker, Vegetation
A challenging par 4 that typically plays into the prevailing winds. An accurate drive is crucial; finding the fairway will leave you with a medium to long approach. The green is well-protected by bunkers on both sides, demanding precision on the approach to score well.
308m (Champ)
287m (Club)
265m (Senior)
275m (Ladies)
Hole 3
Hole 3
- Par 4
- 320m
- Water, Bunker
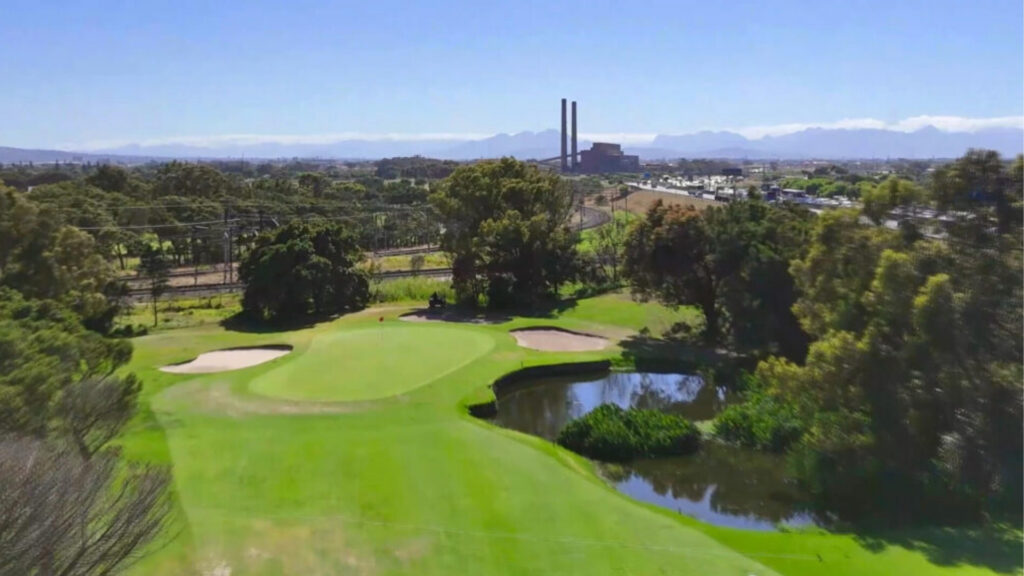
A seemingly straightforward par 4 that has proven challenging to many. With out of bounds to the right, water guarding the front right of the green, and multiple bunkers ready to catch an errant approach, this short par 4 demands your full attention. Be mindful of the wind, as it can make all the difference on this hole.
371m (Champ)
364m (Club)
356m (Senior)
316m (Ladies)
Hole 4
Hole 4
- Par 3
- 170m
- Vegetation
Depending on the wind and tee location, this par 3 can be extremely challenging. A well-placed tee shot that avoids the multiple bunkers surrounding the green will set you up for a good scoring opportunity. On this hole, it’s better to be short than long.
181m (Champ)
160m (Club)
155m (Senior)
151m (Ladies)
Hole 5
Hole 5
- Par 4
- 337m
- Bunker, Vegetation
A dogleg left par 4 that forces a decision off the tee. Either lay up short of the fairway bunker or take on the trees guarding the left side of the fairway. Longer hitters will need to carry the trees and shape the tee shot to keep the ball in the fairway. The small green is guarded by three bunkers, requiring a precise approach shot to make par or birdie.
343m (Champ)
324m (Club)
311m (Senior)
302m (Ladies)
Hole 6
Hole 6
- Par 5
- 433m
- Wind
A short par 5 that presents a great scoring opportunity. Play to the right side of the fairway for a clear line of sight to the green. Beware of the bunker on the front right of the green, as it can leave you with a challenging long bunker shot. A well-executed approach can set you up nicely for a birdie.
436m (Champ)
426m (Club)
419m (Senior)
402m (Ladies)
Hole 7
Hole 7
- Par 4
- 370m
- Vegetation, Wind
A long par 4 that demands precision from start to finish. An accurate drive is essential to set up the challenging approach shot to a small green with runoff areas on both sides. Aim for the front-middle of the green to give yourself the best chance at par. Take your par and move on confidently, this hole can easily add strokes if underestimated.
382m (Champ)
348m (Club)
331m (Senior)
298m (Ladies)
Hole 8
Hole 8
- Par 3
- 162m
- Water, Bunker
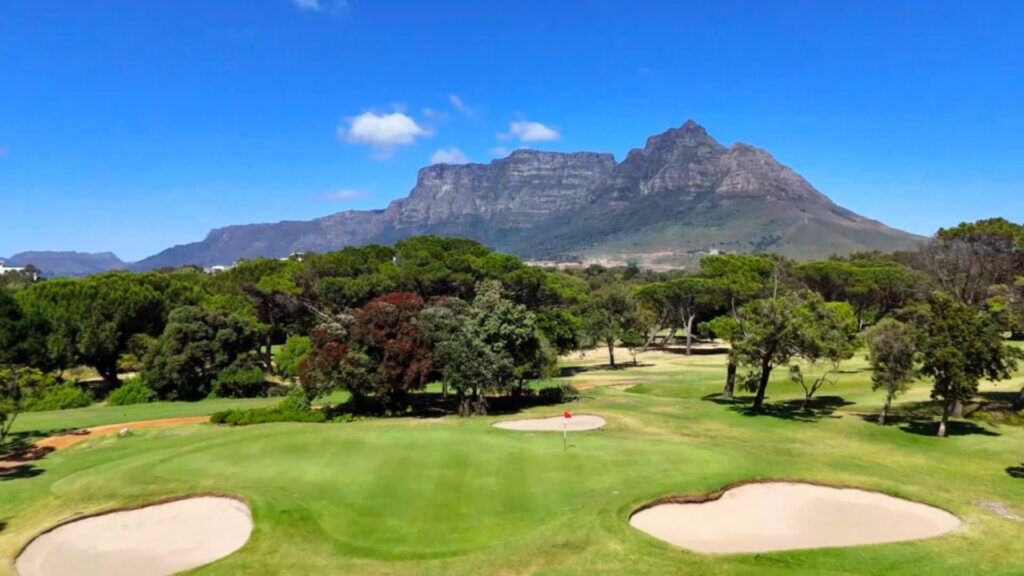
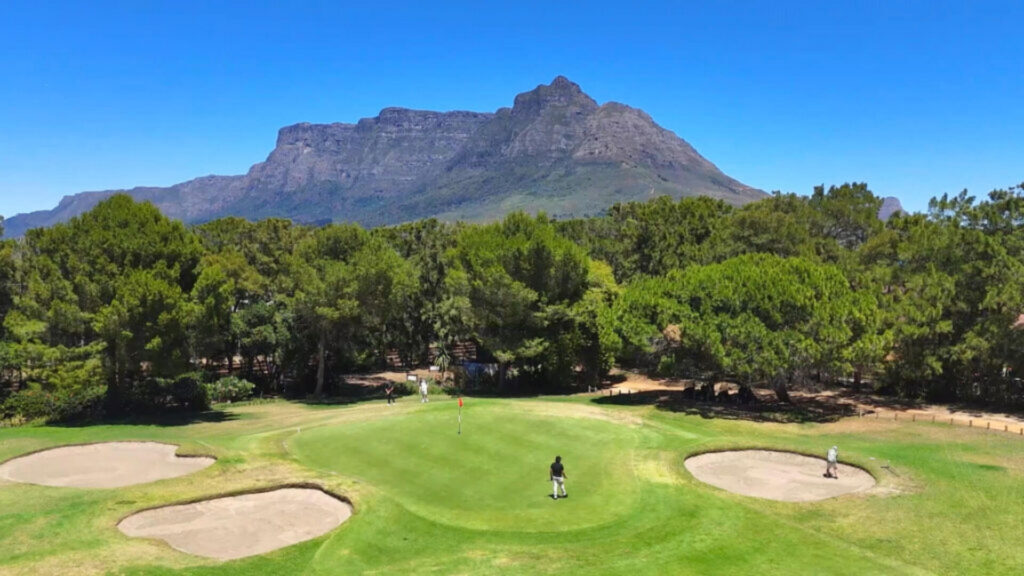
A picturesque par 3 with a stunning view of Table Mountain. Play for the middle of the green, as this little gem is particularly exposed to the elements. High ball hitters should be cautious—the wind can make this par 3 quite challenging, especially from the back tees.
165m (Champ)
148m (Club)
135m (Senior)
121m (Ladies)
Hole 9
Hole 9
- Par 5
- 468m
The closing hole of the front nine. Position trumps distance off this tee. Avoid the fairway bunker to set up a good approach. Note that the green is set at an angle to the fairway, making a high fade the ideal shot shape for right-handers to land close. Play smart, and finish the front nine strong.
478m (Champ)
455m (Club)
447m (Senior)
396m (Ladies)
Hole 10
Hole 10
- Par 5
- 480m
- Bunker, Vegetation
A reachable par 5 for long hitters but requires precision to avoid the bunkers and trees lining the fairway. A solid drive to the left-center opens up the green, which is protected by bunkers on both sides.
475m (Champ)
451m (Club)
444m (Senior)
438m (Ladies)
Hole 11
Hole 11
- Par 4
- 320m
- Water, Vegetation, Wind
A short but strategic par 4. Consider laying up with an iron or fairway wood to avoid fairway bunkers, leaving a short approach to the green. For risk-takers, driving the green is possible but challenging with bunkers waiting.
286m (Champ)
272m (Club)
262m (Senior)
246m (Ladies)
Hole 12
Hole 12
- Par 4
- 370m
- Vegetation, Wind
A hole that demands accuracy from the tee.
346m (Champ)
338m (Club)
332m (Senior)
271m (Ladies)
Hole 13
Hole 13
- Par 3
- 170m
- Water
The green is well protected by a bunker on the right with water to the right of the bunker. The prevailing wind tends to push the ball severely right to left. Aim to miss in the front left quadrant, which allows for an easier up-and-down chance.
170m (Champ)
153m (Club)
136m (Senior)
124m (Ladies)
Hole 14
Hole 14
- Par 5
- 495m
- Vegetation, Wind
A reachable par 5 for many, but accuracy is essential. Aim for a smooth drive down the center, as trees on the right can complicate the approach. If laying up, position yourself at a comfortable wedge distance for an easier third shot.
457m (Champ)
431m (Club)
415m (Senior)
389m (Ladies)
Hole 15
Hole 15
- Par 4
- 400m
- Bunker, Wind
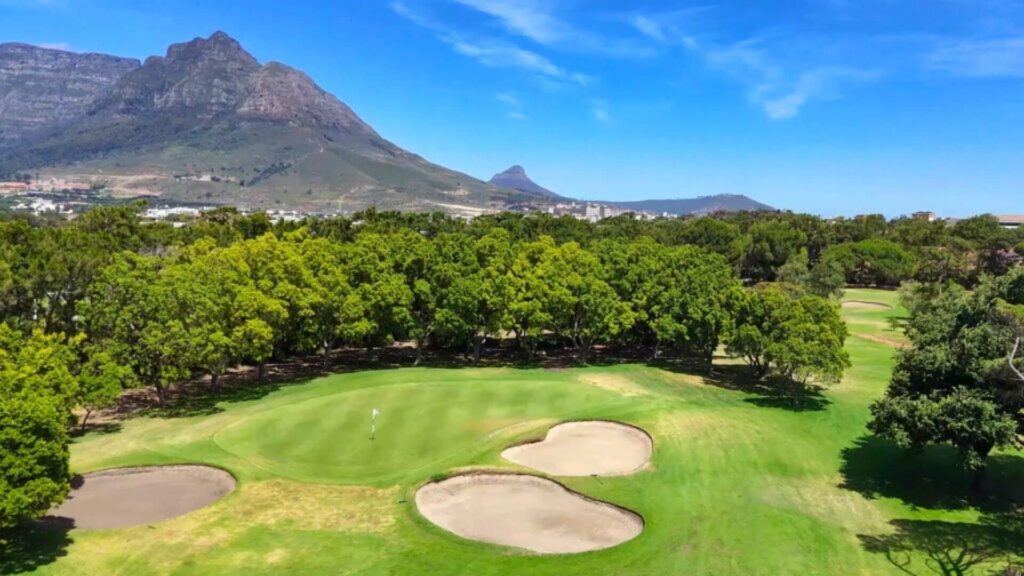
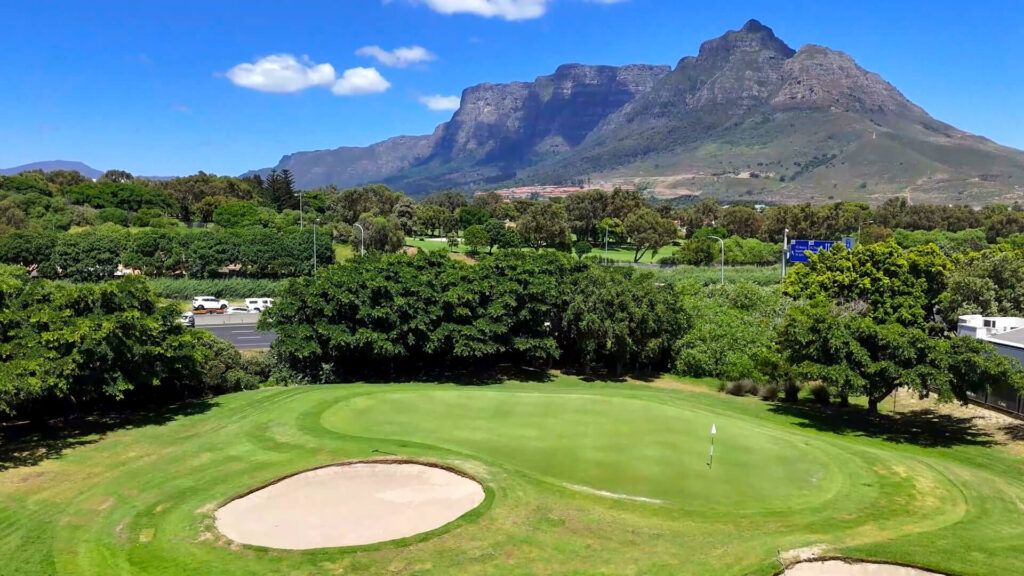
Known for its scenic view of Table Mountain, this challenging hole has a narrow fairway. A solid drive favoring the left side is essential to open up the approach to the green. The green is tricky, with bunkers and subtle slopes requiring careful approach planning.
382m (Champ)
362m (Club)
349m (Senior)
312m (Ladies)
Hole 16
Hole 16
- Par 3
- 150m
- Water, Bunker, Vegetation
A beautiful but challenging par 3 over water. The green is protected by bunkers, so aiming for the middle offers the safest play. Accurate club selection is crucial, especially with the water hazard front and center.
144m (Champ)
130m (Club)
123m (Senior)
117m (Ladies)
Hole 17
Hole 17
- Par 4
- 380m
- Vegetation, Wind
This is a straight par 4 with a slight dogleg left. The right side is guarded by a railway line, which is out of bounds. Aim for a drive to the left-center of the fairway to avoid the out-of-bounds area and set up a good approach to the green.
360m (Champ)
347m (Club)
338m (Senior)
297m (Ladies)
Hole 18
Hole 18
- Par 4
- 462m
- Vegetation, Wind
A long and challenging finishing hole. Aim for a solid drive to the left-center of the fairway to avoid the bunkers on the right. The approach shot requires precision to navigate the bunkers protecting the green.
424m (Champ)
394m (Club)
331m (Senior)
316m (Ladies)
Ready to Experience KDM?
Whether you’re visiting Cape Town, searching for a new golfing home or planning your next round with friends, we invite you to discover why golfers have enjoyed King David Mowbray Golf Club for generations.